

How to Plan a Gender Reveal for Global Guests
If your guests live in different time zones, the best plan is simple: pick the best overlap time, use one join link, and send a replay within 24–48 hours for anyone who misses it.
I’d keep the whole event built around three things:
- A time most people can make
- One page for RSVPs, countdown, and joining
- A replay, photos, and messages after the reveal
A few details make a big difference. For many U.S.-based hosts, 10:00–11:00 AM ET often lines up well with North America and much of Europe. I’d also open the event 10–15 minutes early, keep any live poll short at 15–30 seconds, and test the setup on both phone and laptop before the day starts.
Here’s the short version:
- Group guests by region
- Compare local times before locking the date
- Share the event time in full U.S. format plus main local times
- Use one event hub so guests don’t dig through texts and emails
- Keep the reveal easy to join with no extra app steps
- Add a poll, countdown, and chat prompt so people don’t just sit and wait
- Set up reminders 1 week before and 24 hours before
- Offer a replay with the reveal moment, reactions, photos, and a short note
Quick comparison
| Format | Best for | Main upside | Watch out for |
|---|---|---|---|
| Live video call | Small groups | Feels personal | More join friction |
| Reveal page | Large guest lists | One synced countdown | Less face-to-face time |
| Hybrid | Mixed groups | Live stream plus poll/chat | More setup to test |
If I were planning this, I’d focus less on finding a “perfect” time and more on making the event easy to join, easy to follow, and easy to watch later.
Step 1: Pick a Reveal Time That Works for Most Guests
Group Guests by Region and Find Overlap Hours
Start by finding the best overlap window you can.
Group guests into broad regions like North America, Europe, Asia-Pacific, and any other major cluster on your list. Then track everything in a spreadsheet with:
- Guest Name
- City & Country
- Time Zone
- Typical Availability
- Local Time During Proposed Event Window
It’s the fastest way to compare who can make it and when.
Color-coding helps a lot here. Mark green for comfortable times, yellow for slightly early or late, and red for unusable hours. One quick look can save you a lot of back-and-forth.
For U.S.-based hosts, 10:00–11:00 AM ET often works best for guests across the Americas and Europe. When you share the final time, write it out in full U.S. format, then add the main local times underneath. For example, "Sunday, March 8, 2026, at 3:00 PM Eastern Time (ET), U.S. - 12:00 PM PT / 8:00 PM UK / 9:00 PM CET."
Then make a plan for guests who still can’t be there live.
Plan a Replay Option for Guests Who Cannot Attend Live
Some guests won’t be able to join live. That might include shift workers, grandparents, or people in time zones where the reveal lands at a rough hour. So it helps to decide ahead of time what the replay will include. You can also browse online gender reveal ideas to find high-energy reveal methods that look great on camera.
Keep it simple:
- The key reveal moment
- A short recap of reactions
- Photos from the event
- A message from you and your partner
Tell guests up front that they can watch the reveal later, look through the photos, and leave a message on the event page. That way, the replay doesn’t feel like a backup plan. It feels like part of the event.
Once the time is locked in, the next step is using gender reveal tools to make the reveal simple to join live on any device.
sbb-itb-bc05356
Step 2: Build an Interactive Experience Guests Can Join Without Hassle
Choose a Format: Live Call, Reveal Page, or Hybrid
Once you've picked the time, lock in one of many creative online gender reveal ideas for people to join the reveal. The best format is the one that feels easy from the first click, no matter where your guests live.
A live video call fits a small, close-knit group. A dedicated reveal page works well for a bigger guest list because everyone sees the same countdown at the same time. A hybrid setup mixes a live stream with extras like polls and chat, which gives the event a more polished feel.
For most global guest lists, a reveal page or hybrid setup tends to work best. It cuts extra join steps and keeps everyone focused on one synced countdown.
Once the format is locked in, the next move is simple: give guests something to do while they wait.
Use Polls, Countdowns, and Chat Prompts to Keep Guests Engaged
Remote guests can drift into spectator mode fast, especially if they join early and sit in silence. A simple guess poll before the countdown hits zero can fix that. Keep the voting window short, around 15 to 30 seconds, so it feels urgent without feeling rushed. That way, guests in different regions still feel part of the same shared moment.
A visible countdown adds suspense and tells everyone, at a glance, that the big moment is close. Add a light chat prompt, like asking guests to drop their guess in the chat, and the room starts warming up before anyone even speaks.
Those small details matter. They turn a one-way stream into something that feels shared, even when people are far apart.
Make the Event Easy to Join on Any Device
Build the experience for the person in your guest list who's least comfortable with tech. That's the safest rule. Use large, easy-to-read text, high-contrast colors, and directions that make sense on a phone, tablet, or laptop. Skip account sign-ups and app downloads.
It also helps to include captions or a short on-screen recap. That makes it easier for older relatives or guests with slower internet to follow along, even if the audio drops for a moment. Tell people what's happening next, keep graphics simple, and make sure only one person speaks at a time.
Once the format is set, the next step is keeping things smooth with clear RSVP tracking and reminders.
Step 3: Use GenderReveal.live to Manage RSVPs and Run the Reveal
Set the Countdown, Collect RSVPs, and Send Reminders in One Place
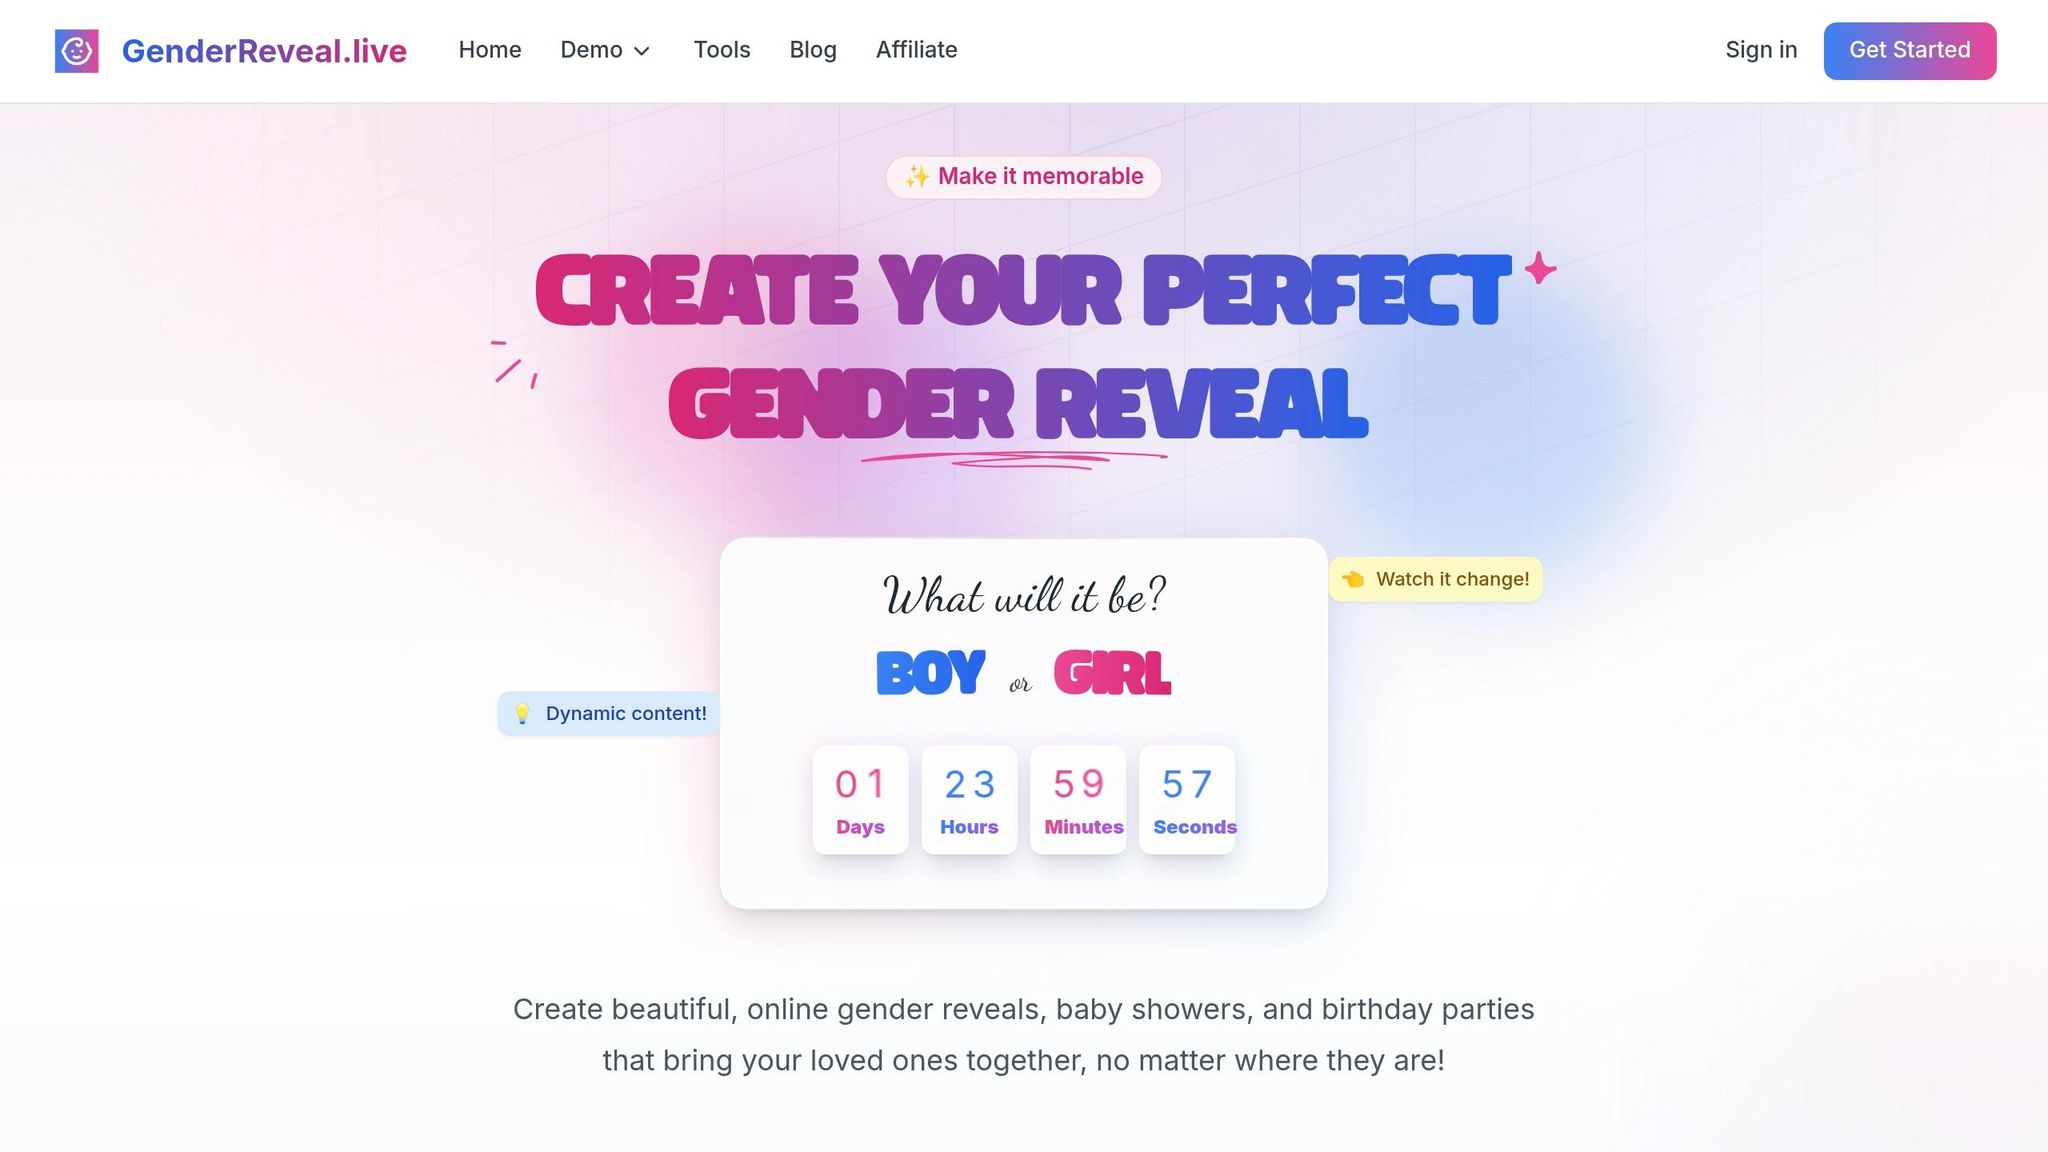
After you pick your reveal format, use GenderReveal.live to manage RSVPs and keep everyone on the same timeline. It puts RSVPs, countdowns, and reminders on one page, so guests have a single place to join and follow along.
Create one event page, share one link, and watch responses come in live. Each guest sees the event time in their local time zone, which cuts out the usual back-and-forth and last-minute confusion.
You can also schedule reminder emails ahead of time, like one week before and again 24 hours before the reveal. When guests open the link, they can check in with one click.
Keep the Surprise Intact with Trustee Mode and Live Voting
Once your guest list is set, Trustee Mode helps keep the result private until the exact second you want to share it. A trusted friend, sibling, or health-care provider can receive the result first and enter it through Trustee Mode. GenderReveal.live then runs the reveal on cue, while the parent view stays neutral until the big moment.
Want to keep people tuned in while they wait? Open a prediction poll before the countdown ends. Guests can vote boy or girl, and the results show up live. A short 10- to 15-minute window gives everyone time to join, vote, and stay in sync.
Collect Messages, Share Photos, and Link Your Gift Registry
After the reveal, you can keep everything in the same event page. Guests can leave messages once the reveal is over, which makes it easy for everyone to share the moment even if they joined from far away. You can save those notes as a digital keepsake or read a few out loud during the event.
Guests can also upload photos to the private gallery.
If you have a registry, add it to the page. For overseas guests, it also helps to include gift card or cash fund links so they can skip shipping delays and extra costs.
7 TIPS FOR A SUCCESSFUL VIRTUAL BABY SHOWER/GENDER REVEAL|Detailed games, instructions, worries etc.
Step 4: Follow a Short Checklist and Share a Recap After the Reveal
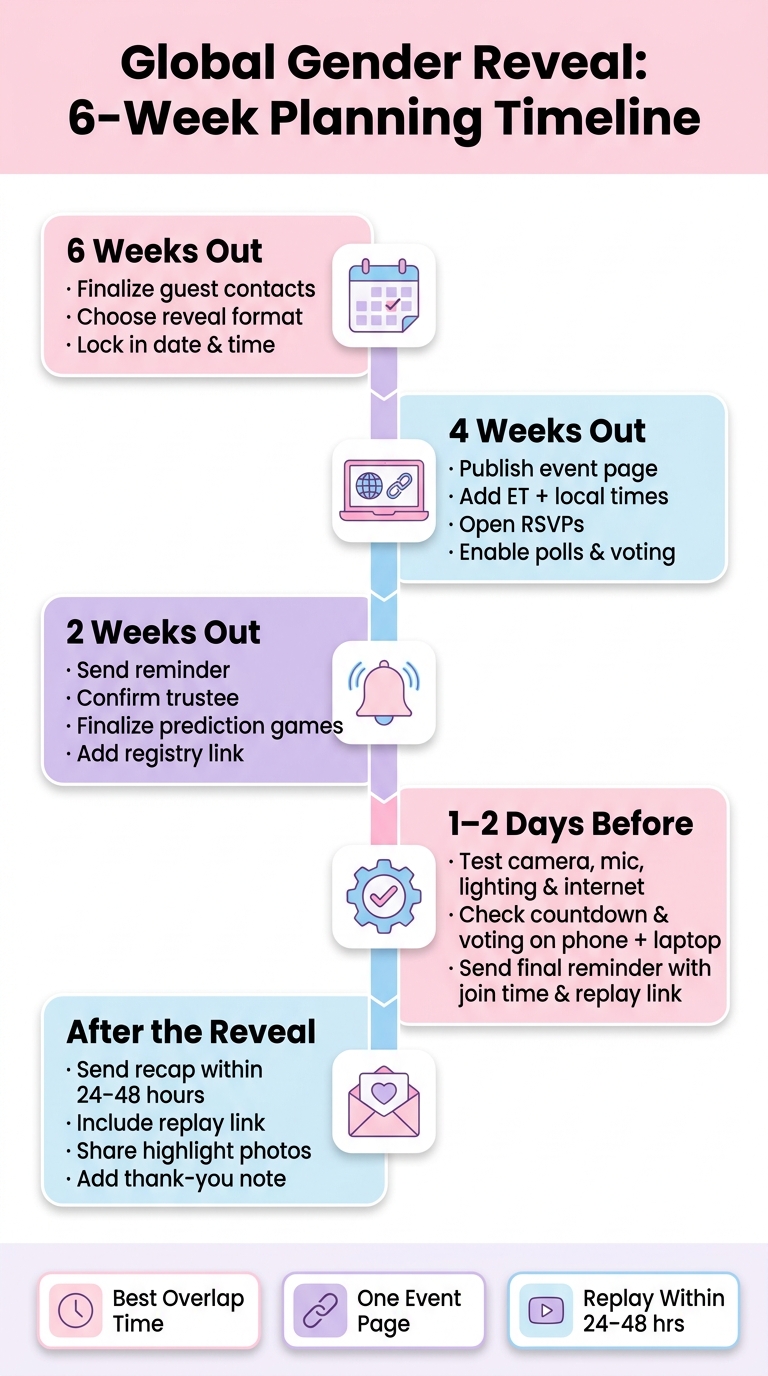
Global Gender Reveal Planning Checklist: 6-Week Timeline
A 4- to 6-Week Checklist Before Reveal Day
Break planning into stages so you’re not scrambling at the last minute. If you’re hosting from the U.S. and inviting guests across time zones, this timeline helps keep reminders, RSVPs, and tech checks on track.
With the event page live and RSVPs coming in, use this schedule to stay ahead.
| When | What to Do |
|---|---|
| 6 weeks out | Finalize guest contacts; choose the reveal format and date/time. |
| 4 weeks out | Publish the event page; add ET plus key local times; open RSVPs; enable polls, voting, and message collection. |
| 2 weeks out | Send a reminder; confirm the trustee or reveal format; finish prediction games; add the registry link. |
| 1–2 days before | Test camera, mic, lighting, internet, countdown, and voting on phone and laptop; send the final reminder with the join time and replay link. |
Run a mock session with a friend in another city. Have them join on their phone while you join on your laptop. If the link loads, the countdown shows up, and the audio sounds clear, you’re set for reveal day.
Once the setup checks out, shift from planning into the live run-of-show.
Host with Clear Language and Simple Event Cues
Use a short script, especially if some guests aren’t very comfortable with tech or are joining from another country. Open the event about 10 to 15 minutes early so people can trickle in without missing the start.
Keep your cues short and easy to follow. Say: "Please mute your microphone until we start," then "The poll is open now - it's completely optional, so join in if you'd like," and finally "Watch your screen - when the countdown hits zero, the reveal begins!" Let guests know they can skip the poll and just watch.
A simple flow on the event page - Join → Mute → Vote → Watch - makes it easy for people to follow along at a glance.
Conclusion: Keep the Timing Clear, the Setup Simple, and the Experience Shared
A successful global gender reveal usually comes down to three things: a time that works for most people, one central event page for everything, and a replay for anyone who couldn’t join live.
Pick a cross-time-zone slot that fits your main guest groups. Share it in U.S. date format with clear time zone labels. Then let one event page handle RSVPs, reminders, countdowns, and voting.
Send the recap within 24 to 48 hours. Include the replay link, highlight photos, and a short thank-you note. That’s how remote guests still feel part of the moment, even from far away.
FAQs
How do I choose the best time for multiple time zones?
Start by surveying guests so you can pick a time that works for most people. If your guest list spans time zones that are more than six hours apart, hold one main event and record it for anyone who can’t make it live.
To cut down on confusion, use GenderReveal.live so guests see the right local time. It also helps to spell out the time on the invitation, like Saturday, March 15, 2025, at 2:00 PM EST, and add calendar links that adjust on their own.
What should I include in the replay for guests who missed it?
Record the full event so guests who missed it can still be part of the fun. A replay gives faraway family and friends a chance to see the joy of your celebration, even after it’s over.
If you can, include a short highlight clip of the big reveal. Those reactions are often the best part, and they turn your virtual event into a keepsake you’ll love looking back on for years.
How can I make the reveal easy for less tech-savvy guests?
Keep it simple. Skip extra steps like downloads or account setup. A browser-based option like GenderReveal.live lets guests join in one click from a phone, tablet, or computer.
In the invitation, add clear join details and the event link. Built-in reminders help guests stay on schedule, and RSVP tools can help you spot anyone who may need a bit more help.